
Step 2. From the Blogger dashboard, choose "Template" and click on the "Customize" button.

Step 3. Click on the "Advanced" tab.
Step 4. Now just add your CSS code inside the right field, located in the "Add CSS" tab (if you have more options, you may need to scroll down the list). Here you can add any CSS code when you want to apply a new style to your template.
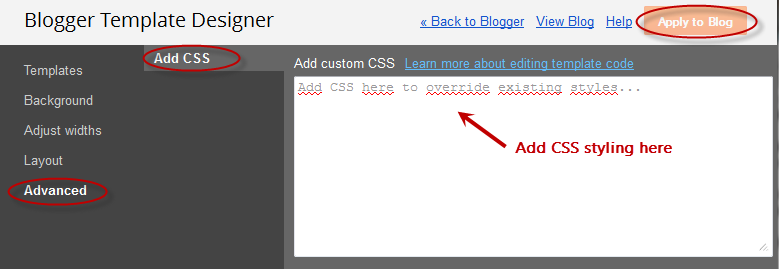
Step 5. Once added, click on the "Apply to blog" button to save the changes.
Following this method you can't edit the existing CSS styles already added in your template, which will require to access the template's HTML and make the modifications there. Here you can only add new styles and edit the existing styles added through the Template Designer panel.
It is also important to mention that when adding the CSS styles, it isn't required to put the <style type="text/css"> ... </style> style tags, which normally would go above the </head> tag of the template html. Adding those tags may result in an error.
If you change the template, the CSS added here will be removed. The same goes for any other additions or CSS customizations made through the Template HTML editor.
Let us know if this work by use the comment box....
ReplyDelete